How to Clean and Maintain Your Air Fryer in Best way (6 step Guide)
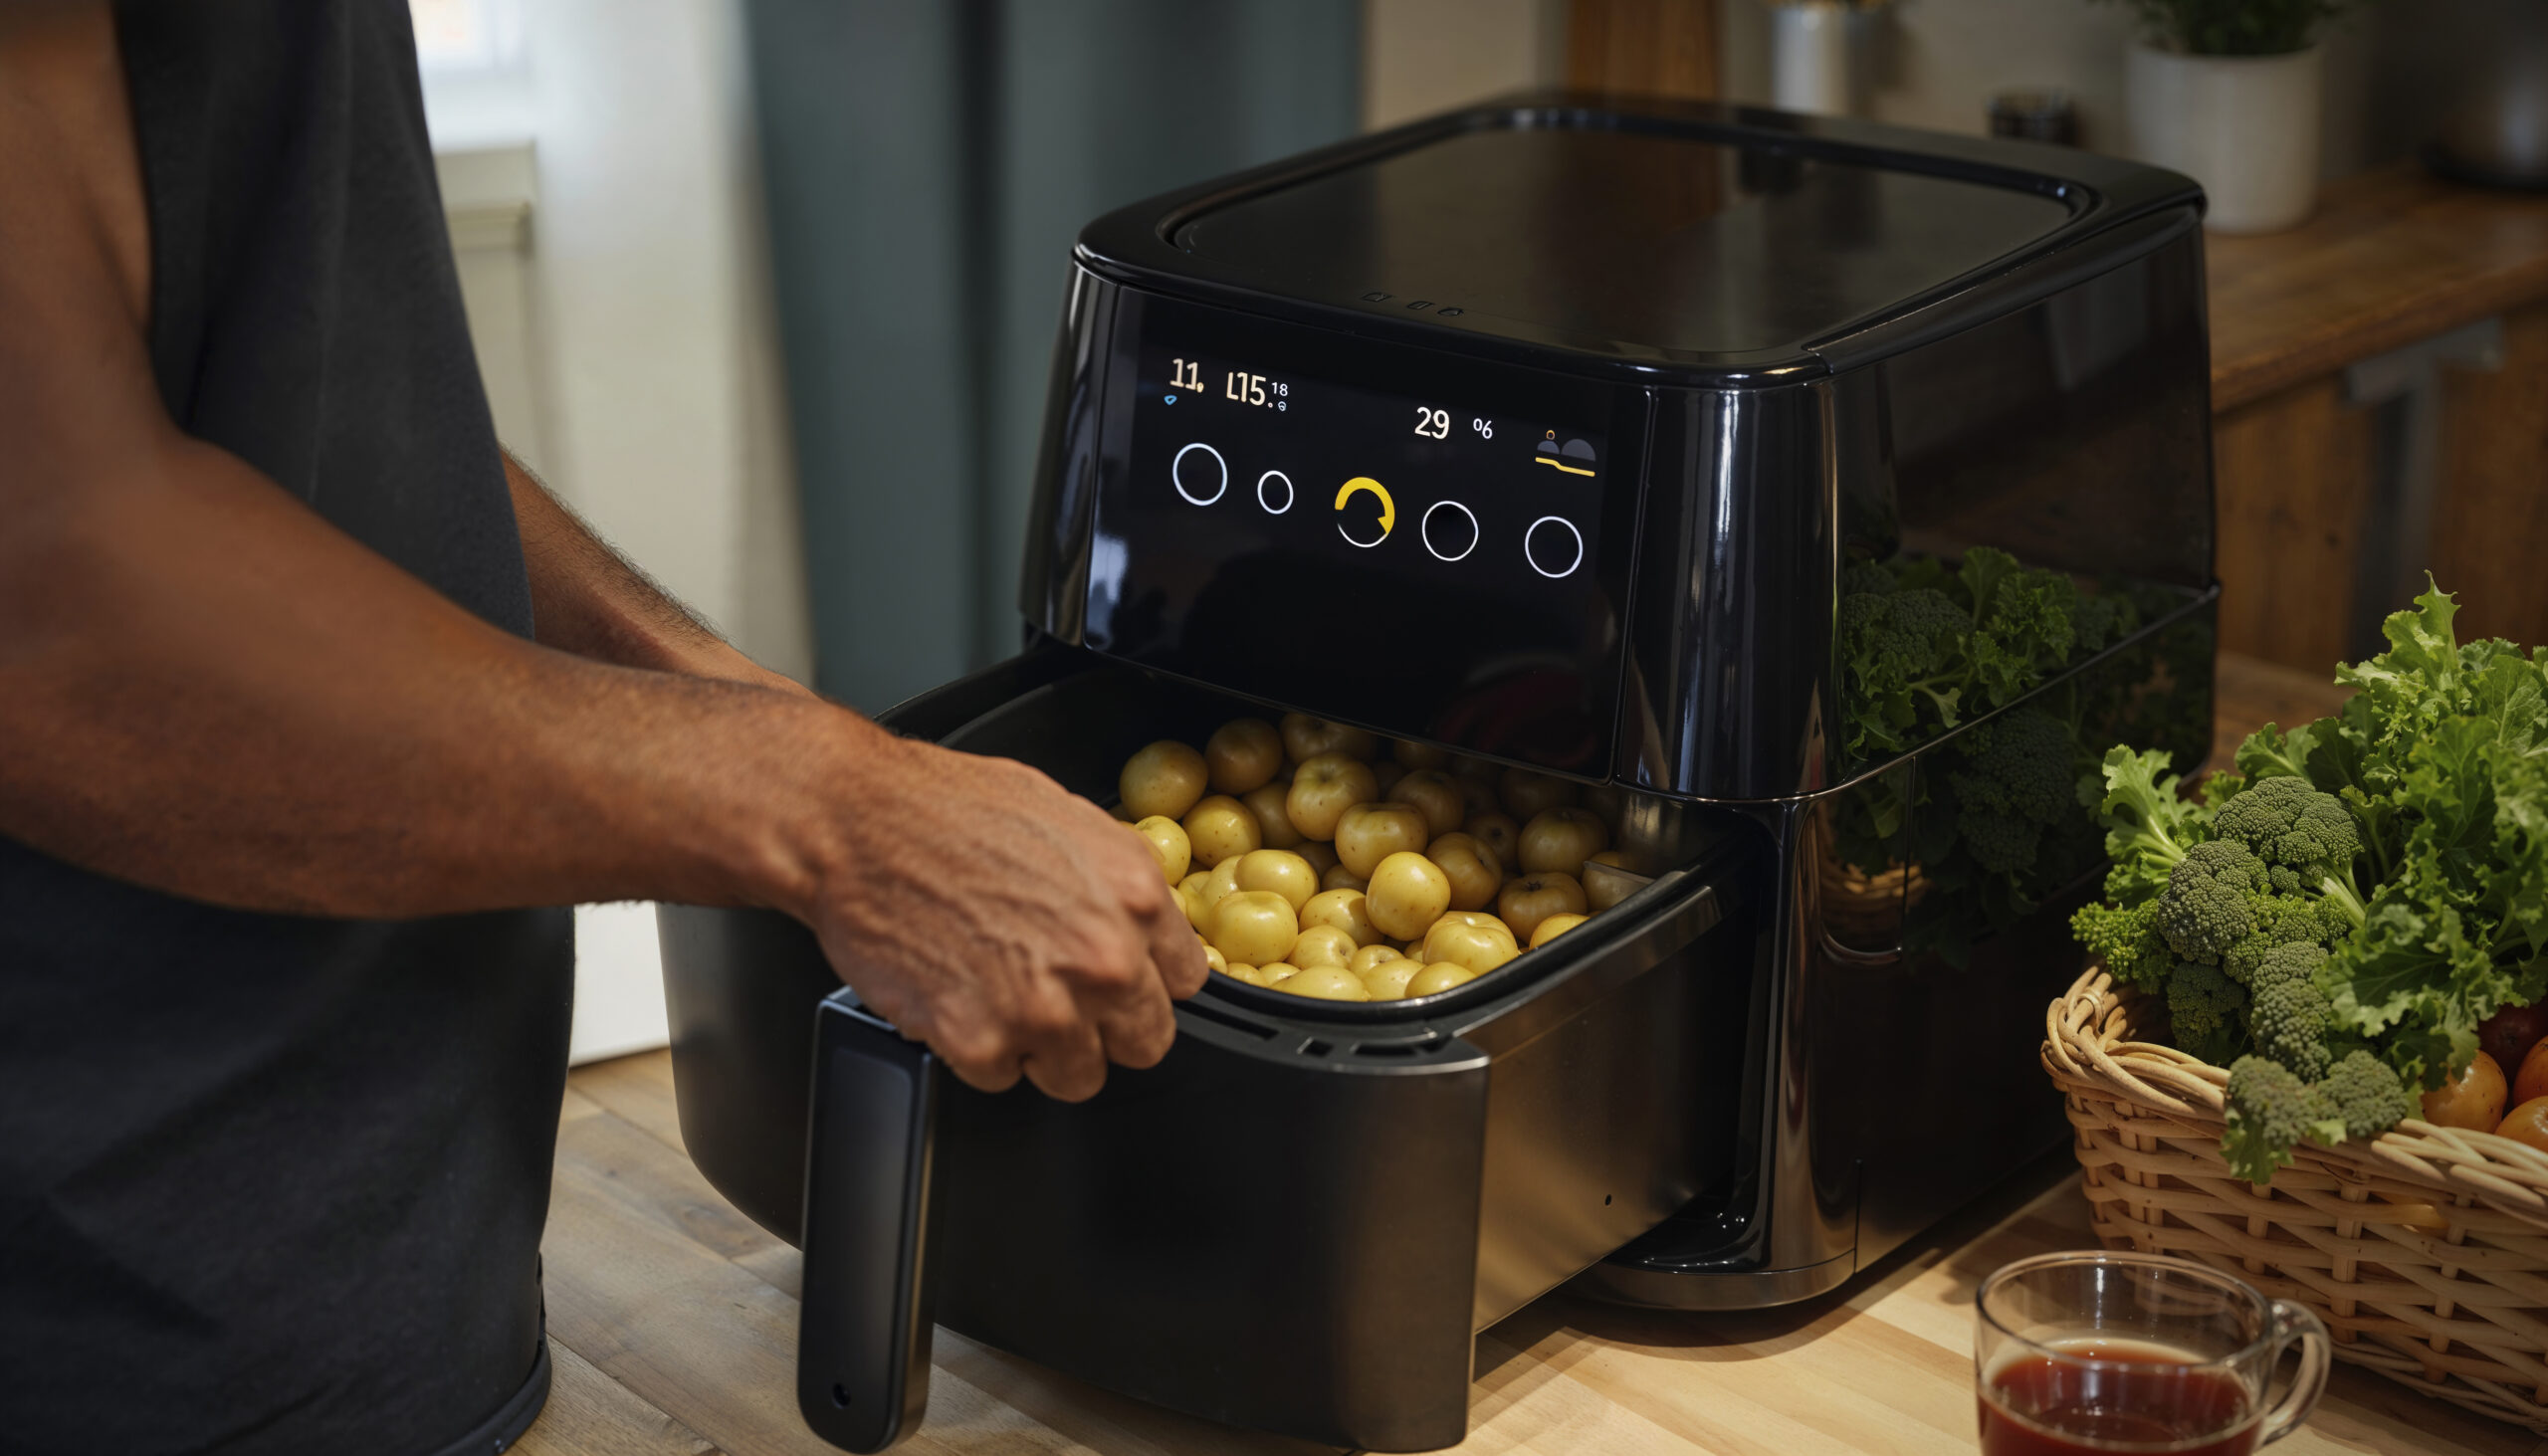
Air fryers have quickly become a staple in modern kitchens. They allow us to enjoy crispy, fried-like foods with little to no oil, making them both convenient and healthier than traditional fryers. But just like any other kitchen appliance, your air fryer requires regular cleaning and maintenance to keep it functioning properly. Neglecting this can lead to unwanted odors, decreased performance, and even safety hazards.
In this guide, you’ll learn step-by-step instructions on how to clean your air fryer, when to perform deep cleaning, and expert maintenance tips that will extend its lifespan.
Why Proper Cleaning is Essential
Cleaning your air fryer isn’t just about making it look nice—it plays a crucial role in keeping the appliance safe, efficient, and long-lasting. Here are the key reasons why proper cleaning matters:
- Protects the Non-Stick Coating
Most air fryer baskets and pans are lined with a non-stick coating. When grease and food particles build up, they can harden and scratch the surface during scrubbing. Over time, this weakens the coating, making food stick more easily and potentially releasing harmful particles into your meals. Regular gentle cleaning helps preserve the non-stick surface, ensuring your food cooks evenly and slides out effortlessly. - Prevents Smoke and Unpleasant Odors
Leftover crumbs and grease can burn the next time you use the fryer, creating smoke, strong odors, or even setting off your smoke alarm. Not only is this annoying, but it can also alter the taste of your food. A freshly cleaned fryer eliminates these problems and keeps your kitchen smelling fresh. - Improves Cooking Performance
A dirty heating element or clogged vents can reduce airflow inside the fryer, making it harder to achieve that crispy finish. Grease buildup may also cause uneven heating, meaning some foods end up undercooked while others get burnt. By keeping the unit clean, you ensure consistent cooking results every time. - Extends the Lifespan of the Appliance
Just like any other kitchen gadget, proper care extends the life of your air fryer. When you neglect cleaning, grease and food debris can seep into hard-to-reach areas, leading to mechanical issues, overheating, or even permanent damage. A well-maintained fryer not only saves you money in repairs but also provides reliable performance for years. - Enhances Food Safety and Hygiene
Residual oil and food particles are the perfect breeding ground for bacteria and mold, especially if the fryer isn’t used daily. Cooking with a dirty appliance could contaminate your meals and put your health at risk. Regular cleaning prevents cross-contamination and ensures every meal is safe and hygienic.
Common Mistakes People Make
While cleaning an air fryer might seem straightforward, many people unknowingly make mistakes that can harm the appliance or reduce its lifespan. Being aware of these pitfalls ensures you’ll keep your fryer in top condition.
- Submerging the Main Unit in Water
One of the biggest mistakes is placing the entire air fryer body in water. Since the main unit contains electrical components, immersing it can cause serious damage, short circuits, or even render the appliance unusable. Always remember—only the removable basket, pan, and tray are safe to wash with water. - Using Abrasive Pads or Steel Wool
Some people turn to harsh scrubbers when dealing with stuck-on food, but this can quickly scratch and strip the non-stick coating. Once the surface is damaged, food will stick more, and the basket becomes much harder to clean. Always use a soft sponge or non-abrasive brush to protect the coating. - Neglecting the Heating Element
Many users clean the basket but forget about the heating element at the top of the fryer. Over time, grease splatters and food particles can collect here, causing smoke, odors, and reduced efficiency. Skipping this step not only affects performance but may also become a fire hazard. - Not Letting the Appliance Cool Before Cleaning
Trying to clean the fryer while it’s still hot can lead to burns and even warp certain parts. Always allow at least 20–30 minutes for the air fryer to cool completely before starting the cleaning process. - Using Harsh Chemical Cleaners
Strong chemicals, bleach, or oven cleaners may seem like quick fixes, but they can be toxic if residues remain on cooking surfaces. Stick to mild dish soap, vinegar, or baking soda for safe, effective cleaning. - Skipping Regular Cleaning
Some people only clean their air fryer occasionally, but grease buildup happens fast. Skipping regular maintenance not only affects cooking results but also creates long-term damage that can shorten the fryer’s lifespan. - Improper Drying and Reassembly
Another overlooked mistake is reassembling the fryer while parts are still damp. Moisture can seep into electrical components or encourage mold growth inside the unit. Always ensure every piece is fully dry before putting the fryer back together.
👉 By avoiding these common mistakes, you’ll protect your air fryer from unnecessary wear and tear, keep your food tasting its best, and ensure the appliance works safely for years to come.
Preparing for Air Fryer Cleaning
Safety Precautions Before Cleaning
Before you start, always:
- Unplug the air fryer and let it cool completely.
- Work on a dry, flat surface.
- Never immerse the electrical unit in water.
Tools and Supplies You’ll Need
Gathering the right supplies makes cleaning simple and effective. Here’s what you’ll need:
- Soft sponge or microfiber cloth
- Warm, soapy water
- Non-abrasive brush
- Baking soda (for stubborn stains)
- Vinegar (for odor removal)
- Paper towels or a drying rack
Step-by-Step Guide: How to Clean Your Air Fryer
Step 1: Unplug and Cool Down
Never start cleaning while the appliance is hot. Wait at least 20–30 minutes after cooking to avoid burns.
Step 2: Disassemble Removable Parts
Remove the basket, pan, and tray. Most air fryer models have dishwasher-safe parts, but it’s always best to check your manual.
Step 3: Clean the Basket and Pan
Removing Grease and Stuck-on Food
Soak the basket and pan in warm soapy water for 10–15 minutes. Use a soft brush to gently scrub away grease.
Dishwasher-Safe vs. Hand-Washing
If your parts are dishwasher-safe, place them on the top rack. For non-dishwasher-safe parts, stick to hand-washing to avoid damage.
Step 4: Clean the Heating Element
Turn the air fryer upside down carefully. Use a damp cloth or soft brush to remove crumbs and grease from the heating element. Avoid soaking this part, as water can damage it.
Step 5: Wipe the Exterior and Control Panel
A damp microfiber cloth works best for the outer surface. Avoid harsh cleaners that can strip the finish.
Step 6: Dry and Reassemble Properly
Allow all parts to air dry completely before reassembling. Moisture left inside can lead to mold or electrical issues.
Deep Cleaning Your Air Fryer
How Often Should You Deep Clean?
While light cleaning should happen after every use, deep cleaning is recommended every 2–4 weeks, depending on how often you cook.
Baking Soda and Vinegar Methods
- For stubborn grease: Make a paste of baking soda and water, scrub gently, then rinse.
- For odors: Wipe down the basket with vinegar and let it air out.
Dealing with Strong Odors
If your air fryer smells even after cleaning, place a lemon slice inside and run the fryer for a few minutes at low heat. This helps neutralize lingering odors.
Maintenance Tips to Keep Your Air Fryer in Top Shape
Avoiding Oil Build-Up
Use minimal oil and avoid cooking overly greasy foods without liners, as this prevents sticky residue.
Proper Storage Practices
Always store your air fryer in a dry area with plenty of ventilation to prevent mold or mildew.
Using Parchment Liners for Easier Cleaning
Special air fryer parchment liners reduce food sticking, making cleanup much faster.
Troubleshooting Common Cleaning Issues
Burnt Smells That Won’t Go Away
Persistent burnt smells usually mean food debris is stuck near the heating element. A thorough deep clean should solve the problem.
Sticky Baskets and Non-Stick Coating Care
Never use steel wool. Stick to non-abrasive sponges to protect the non-stick coating and prevent peeling.
Electrical Safety During Maintenance
Never submerge the main unit in water. Always check for frayed cords or damage before using the appliance again.
FAQs About Air Fryer Cleaning and Maintenance
Conclusion: Keeping Your Air Fryer Like New
With just a little regular cleaning and care, your air fryer can last for years while continuing to deliver crispy, delicious meals. Following this step-by-step guide not only ensures hygiene and safety but also maintains performance. Treat your air fryer well, and it’ll reward you with consistently tasty results.

